|
Thursday 26 April 2012
What magnifictaion to use for planets
Sunday 22 April 2012
How to image the moon with sony cybershot and other digital cameras
I just thought that I would post a quick guide explaining how to image the moon with a digital camera, this guide is specifically for Sony cybershot w210, but can be used on most other point and shoot cameras.
Step 1: Set your telescope up outside and let it cool e.t.c
Step 2: Put in the eyepiece you are planning on using ,making sure the whole moon ( or the part of it you want to image) is in the eyepiece. If you are planning on doing a lunar mosaic I would advice using a webcam instead as this is particularly difficult to do using a point and shoot camera.
Step 3: Set up your camera, the settings I use on my sony cybershot w210 are ev 1.3 ( for the exposure you want to make sure you get the correct balance between showing lots of detail but not being over exposed) set the camera to video at its highest frame rate (for the cybershot this is 30fps). The last thing I do is set the camera to infinite focus as I find this works best.
Step 4: Attach the camera to your scope and focus, if you want to attach it to the scope you could use a camera adapter like this one: http://www.sherwoods-photo.com/meade_scopes/digital_mounts_fs.htm this will help improve your image compared to if you just hold up the camera to the eyepiece like I do.
Step 5: Zoom in on your camera so that the moon fills almost the whole field of view.
Step 6: Record between 1000 and 3000 frames using your camera, I normally use about 1500 while filming you may have to adjust the telescope slightly to keep the moon in the cameras view.
Step 7: Pack away your equipment and go inside
Step 8: open up registax on your computer and process your image, if you don't have registax you can download it here http://www.astronomie.be/registax/
Step 9: Save the final image onto your computer, at this stage I look to open my image up in photoshop or gimp and adjust the levels of brightness slightly.
Step 10: Admire you final image.
If you need any help or advice feel free to contact me.

Wednesday 18 April 2012
Moon Occulations
I am very excited about the upcoming moon occulations which will be happening on the 25th and 29th of April. If you dont know what an occulation is it is an event where the moon passes in front of and blocks the light from a star. I am really looking forward to these as I have never seen one before, the occulation on the 25th is an occulation of the star Zeta and to view it you need to start looking at 9pm the star veta is mag +3.0. The second occulation on the 29th is an occulation of the star Kappa and you need to start viewing it at 11:30pm and the star Kappa is +5.2 mag. Sadly at the minute the forecast is cloudy for the 25th, but hopefully the forecast will change before then. The star will be behind the moon for about 30 minutes on both occassions I am going to try and image them and I will inform you how it goes.
Sunday 15 April 2012
Stargazing In Cornwall
I have just arrived home from my holiday in Cornwall where I had hoped to do lots of stargazing, I had read on various websites about how from the dark Sky's in St Agnes Cornwall you can see the milky way over head. I was very excited about the prospect of seeing the milky way for the first time, so I decided to take my praktica binoculars. We decided to stay in a place in Cornwall called Portreath which was only 5 minutes away from St Agnes so that meant that it should still have pretty dark skies.I checked the weather forecast before I went and it said that there should be 3 clear nights during the week that I was there. The first night that we arrived had a clear sky but i decided to stay inside and catch up on my sleep as I had got up at 4am that morning, as there were supposedly to other clear nights ahead. But sadly as the week went on there was rain and clouds meaning that I didn't have a chance to see the milky way, I am planning on going back in October so I can always try again then. I really enjoyed my stay at Portreath as there was a nice beach and an active harbour, if you are planning on going to Cornwall I would recommend staying there. The stay was also a good chance to use my binoculars on boats at sea as the house we were staying in had a sea view, the binoculars once again impressed me and I found them very useful throughout the holiday. Portreath is only about a half an hours drive away from Fistral beach which is great for watching surfing ,and about 20 minutes away from St Ives which is a very nice seaside town. So even though I wasn't able to see the milky way on my holiday I still enjoyed my holiday in Cornwall.
Friday 6 April 2012
Full Moon with skywatcher explorer 130
Last night I managed to use my new scope for the first time and I have to say that I found the views amazing considering the reasonably small aperture of this scope. Even though the conditions were very hazy that didn't stop me having a good observing session on the moon. I decided not to wait till 11pm for Saturn to come over the horizon and called it an early night at 9:30pm this was due to the fact that a combination of a full moon and lots of haze would of made very poor viewing conditions. Towards the end of my session I decided to have a quick attempt at imaging the moon, but made the stupid mistake of not using the cameras zoom so that the moon filled most of the field of view. This resulted in meaning that if I try and zoom in to see detail on the finished picture it gets very pix elated. So hopefully I wont make that mistake next time!! So that meant that the finished image is made up of a small moon and lots of black sky. I think considering the viewing conditions and my mistake, apart form being slightly over exposed it turned out well. Stacked with the best 200 frames out of 1000 frames in registax and i adjusted the sharpness in photoshop. Any comments and advice would be appreciated.I will post the review of my scope when I get back from holiday in a week.


Wednesday 4 April 2012
Praktica 10x50 binoculars review
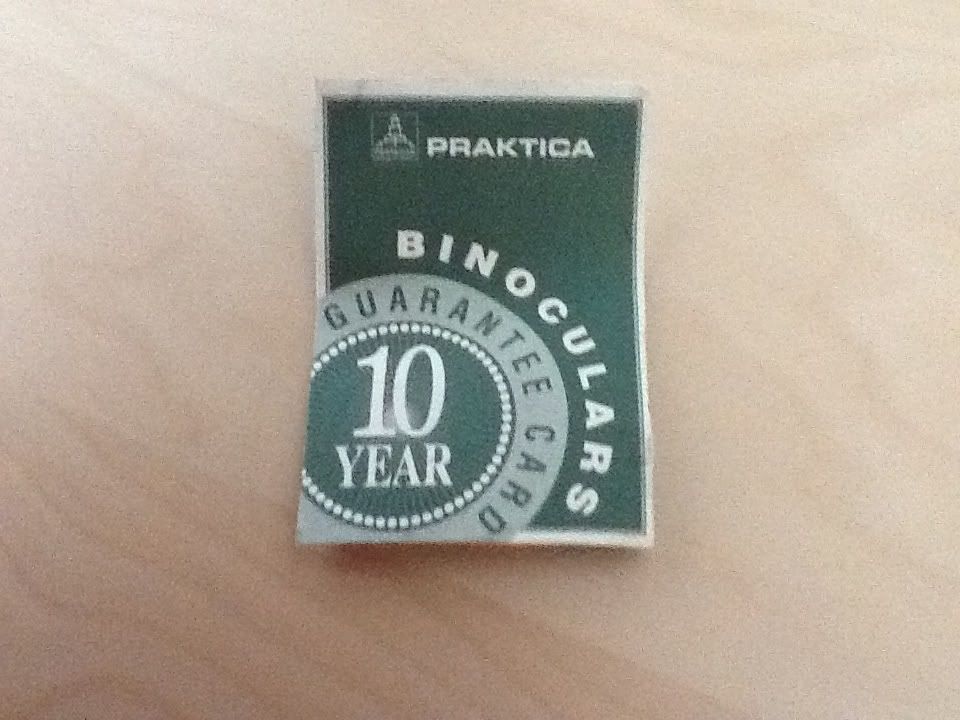
I recently was given the praktica 10x50 binoculars as a birthday present and I have to say that I am pretty impressed with them. With the binoculars you get a case, rubber eyepiece covers and a 10 year warranty. To start with the case is ok but I found that when I accidentally put the binoculars in it the wrong way round it started to split, but with a bit of sewing this was easily fixed and was no big deal. The rubber lens covers for both the front and rear lenses are a good fit and useful for protecting your binoculars. I also thought that the Tripod adaptor on the binoculars was useful especially if you plan on observing things like the moon with them. I found that the binoculars were quite easy to focus and had only a tiny amount of chromatic aberration at the edges of the field of view. Weighing in at 820g the binoculars are quite heavy which makes them quite difficult to hold steady unless you are using a tripod or you are resting the binoculars on something. The binoculars have a field of view of 5.7 degrees which makes it good for viewing things like star clusters. With these binoculars I was email to see the seas on the moon a lot more clearly than with the naked eye. But if you want to view things like planets with detail then I would advise that you get a telescope instead. I personally find these binoculars pretty good for testing the viewing condition and learning to navigate the sky. To sum up overall I was very pleased with the quality of the binoculars for the quite small £30 price tag. Also if you plan on getting any binoculars I recommend that you get the Philips stargazing with binoculars book as I found that this was very useful for learning to do astronomy with my binoculars.


Finished processing full moon
Just thought that I would make a post about an image which I took a while ago with my 60mm refractor. This was only the 2nd image that I have ever taken so I was pretty happy with it. Hopefully when the weather clears up I can have another go at imaging with my new skywatcher. Anyway here it is took with Sony cybershot the final image was stacked out of the best 200 frames in registax. Any comments would be appreciated.

snow
I was planning on testing out my new telescope tonight but I couldn't because of the snow. Hopefully the snow will clear up soon and I will get a chance to test my new scope so that I can write my review on it.
alisastronomyblog
alisastronomyblog
Tuesday 3 April 2012
Welcome
Hi
Welcome to alisastronomy blog. I intend this to be a blog of my progress as I learn more about the hobby of astronomy. My current telescope is a skywatcher 130eq which I got yesterday but I haven't had chance to try it out yet because of the clouds!!! Anyway, I will try and keep this blog updated with my observations, my images and any tips or tricks I learn along the way.
alisastronomyblog
Subscribe to:
Posts (Atom)